 Ohm
Ohm
The set sounded right in the room. The monitors were loud and clean, the mix was moving, and the energy was there. You play the recording back and something's off. It's harsh, or thin, or the levels jump between tracks in a way they didn't during the set. Nothing went wrong that you could hear. The problem was invisible.
In most cases, the cause is the same: the gain chain in your mixer was set for the monitors, not for the recording. These are not the same thing, and the difference matters more in a digital system than most DJs realise.
The signal chain
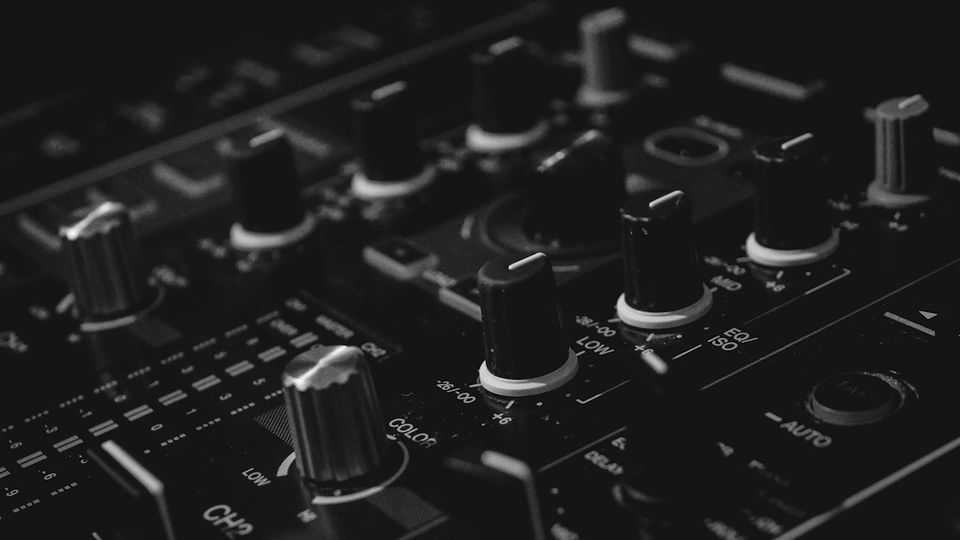
Every channel in a Pioneer DJM follows the same path: the audio comes in from a CDJ, turntable, or laptop, passes through the channel trim (also called the gain knob), moves through the three-band EQ, reaches the channel fader, then the crossfader, then the master fader, and finally arrives at the USB Rec Out, the signal that becomes your recording.
Each stage in that chain can affect the level. The key insight is that gain decisions cascade: a mistake made at the trim stage cannot be corrected later in the chain without consequences.
- Channel trim: Sets the internal channel level. Most important gain decision. Everything downstream flows from it.
- EQ (3-band): Shapes frequency content; can add gain. Large boosts add level. Account for them when setting trim.
- Channel fader: Attenuates for mixing. Does not boost. Pulling it down helps the mix. It does not fix upstream clipping.
- Master fader: Final output before the recording. Should stay near unity. Large reductions here don't undo channel problems.
- USB Rec Out: Post-fader, post-master. Captures the mix. Follows whatever the master bus is delivering.
The channel fader is where most DJs spend their attention during a set. It's also the one stage in this chain that has no bearing on whether your recording clips.
What the channel meters actually show
This is the detail that trips up most recording DJs. The channel level meters on a Pioneer DJM-750MK2 and DJM-900NXS2 are pre-fader: they show the signal level after the trim and EQ, but before the channel fader.
What this means in practice: the channel meter is not showing you what's being recorded. It's showing you the result of your trim and EQ settings, at a point in the chain where the fader hasn't touched the signal yet.
The meter is still useful. It tells you if your trim is set correctly. The target is peaks in the amber zone (~-6 to -3 dBFS), not climbing into red. If the meter is in red during normal playback, the channel is clipping at the trim/EQ stage, and that clipping will be in the recording.
Green throughout is also a problem. It usually means the trim is set too low, giving you a clean but quiet signal with more noise floor relative to your musical content.
The master meter, by contrast, does show you a closer approximation of the recording level. Watch it. If it's consistently in the red during the loudest passages, the recording is too hot.
The six mistakes
1. Trim set too high
The most common problem. The channel is clipping internally, with the meter in red or hovering at the top of amber and occasionally touching red during loud passages. The monitors may sound fine because the system's output limiting is doing its job. The recording is distorted. Fix: set trim so the loudest consistent passages reach the top of amber, not red.
2. Compensating with the master fader
After setting trim too high, the instinct is to pull the master fader down so the output doesn't sound harsh. This does make the output quieter. But the clipping already happened at the channel stage, before the master fader. Pulling the master down delivers a quieter clipped signal to the recording, not a clean one. Fix: correct the trim, not the master.
3. Large EQ boosts
The EQ on a DJM-750MK2 has a range of ±26 dB on each band. A significant high-end boost on a channel that's already sitting at the top of amber on the meter will push that frequency band into clip. The distortion is band-specific and can be subtle, a harshness in the highs rather than obvious clipping across the whole signal. Fix: if you use large EQ boosts as part of your style, set the trim lower to create headroom for them.
4. Relying on the master limiter
This is the most counterintuitive issue for DJs who play loud. The room sounds clean because the limiter is working. But the USB Rec Out captures the digital signal on the internal bus. If channels were clipping before the master stage, that distortion is in the signal being recorded regardless of what the limiter is doing to the analog output. Don't use the CLIP indicator as a recording-quality guarantee.
5. Inconsistent trim across sources
Different sources have different output levels. CDJs output a consistent line level. Turntables vary by cartridge and pressing. Laptop software such as Serato, rekordbox and Traktor typically defaults to maximum output, which is often hotter than a CDJ at line level. If you don't trim each source independently, the recording will have level jumps between tracks that weren't audible in the mix (because your monitoring system adapted) but are obvious on playback. Fix: trim each channel individually, adjusting for the source type.
6. Hot laptop output
DJ software at 100% output is almost always too hot for a channel trim set for CDJ-level input. The channel clips even with the trim at a reasonable position. Many DJs never address this because the monitors sound fine. Fix: reduce the software output level in the application (not the OS), then re-trim the channel. A target of around 80 to 90% in software output, with trim adjusted to compensate, usually gives a cleaner result.
Setting gain correctly before a set
A brief soundcheck before recording takes two minutes and prevents most of the problems above.
- Set trim per channel. Play a representative track on each source, something that represents the loud passages you'll actually play. Adjust the trim until the channel meter peaks in the amber zone during loud passages. Do this for every channel you plan to use, including the laptop if you're running software.
- Account for EQ. If your style involves significant EQ boosts, large low-end additions or bright high-end lifts, apply your typical boost during the soundcheck and confirm the channel meter stays in amber. If it creeps into red, back off the trim by 1 to 2 dB.
- Check the master meter. Bring in a full mix with both channels at typical playing levels and confirm the master meter peaks around -6 to -3 dBFS during the loudest passages. If it's consistently in red, reduce the master fader slightly, or revisit the channel trims.
That's the whole process. Once the gain chain is set correctly, it largely takes care of itself for the rest of the set, assuming your sources are consistent.
The fader test
One check worth doing when you start a new recording: push the master fader down and watch the recording level respond. If your recording app's input meter drops when you move the master fader, the routing is post-fader and the master is in the chain. If the recording level stays constant, the signal is being taken from a pre-fader tap upstream, and the fader moves in your mix won't appear in the recording.
This is a routing issue, not a gain issue, and it's covered in detail in Post-Fader vs Pre-Fader Recording: Which Signal Path Captures Your Set. But it's worth confirming before a long set.
Gain structure isn't a studio engineer's concern that you can safely ignore at a gig. It's the first thing that separates a recording that sounds like a performance from one that sounds like a rough demo. The channel trim is the most important control in your recording chain. Not the fader, not the master, not the EQ. Set it correctly before you start, and the recording will reflect what you actually played.